What I'm cooking: June 2026
This summer I've been playing with fermentation recipes. I got a some new glass jars and bottles with swing-top lids. Here are two recipes from my adventures, just written as I remember them.
Sauerkraut
I've been making sauerkraut, which I've never tried making before. It is really simple! It's really good to eat on its own. Some other ideas to use it with are on burgers, on sandwiches, or adding it to egg salad. Most of the sauerkraut you'll find in a supermarket has been pasteurized, and tastes different than this. I prefer the homemade! It's also 'probiotic' when not pasteurized. I don't really know if that has any importance, but I do know it's a popular marketing term right now.
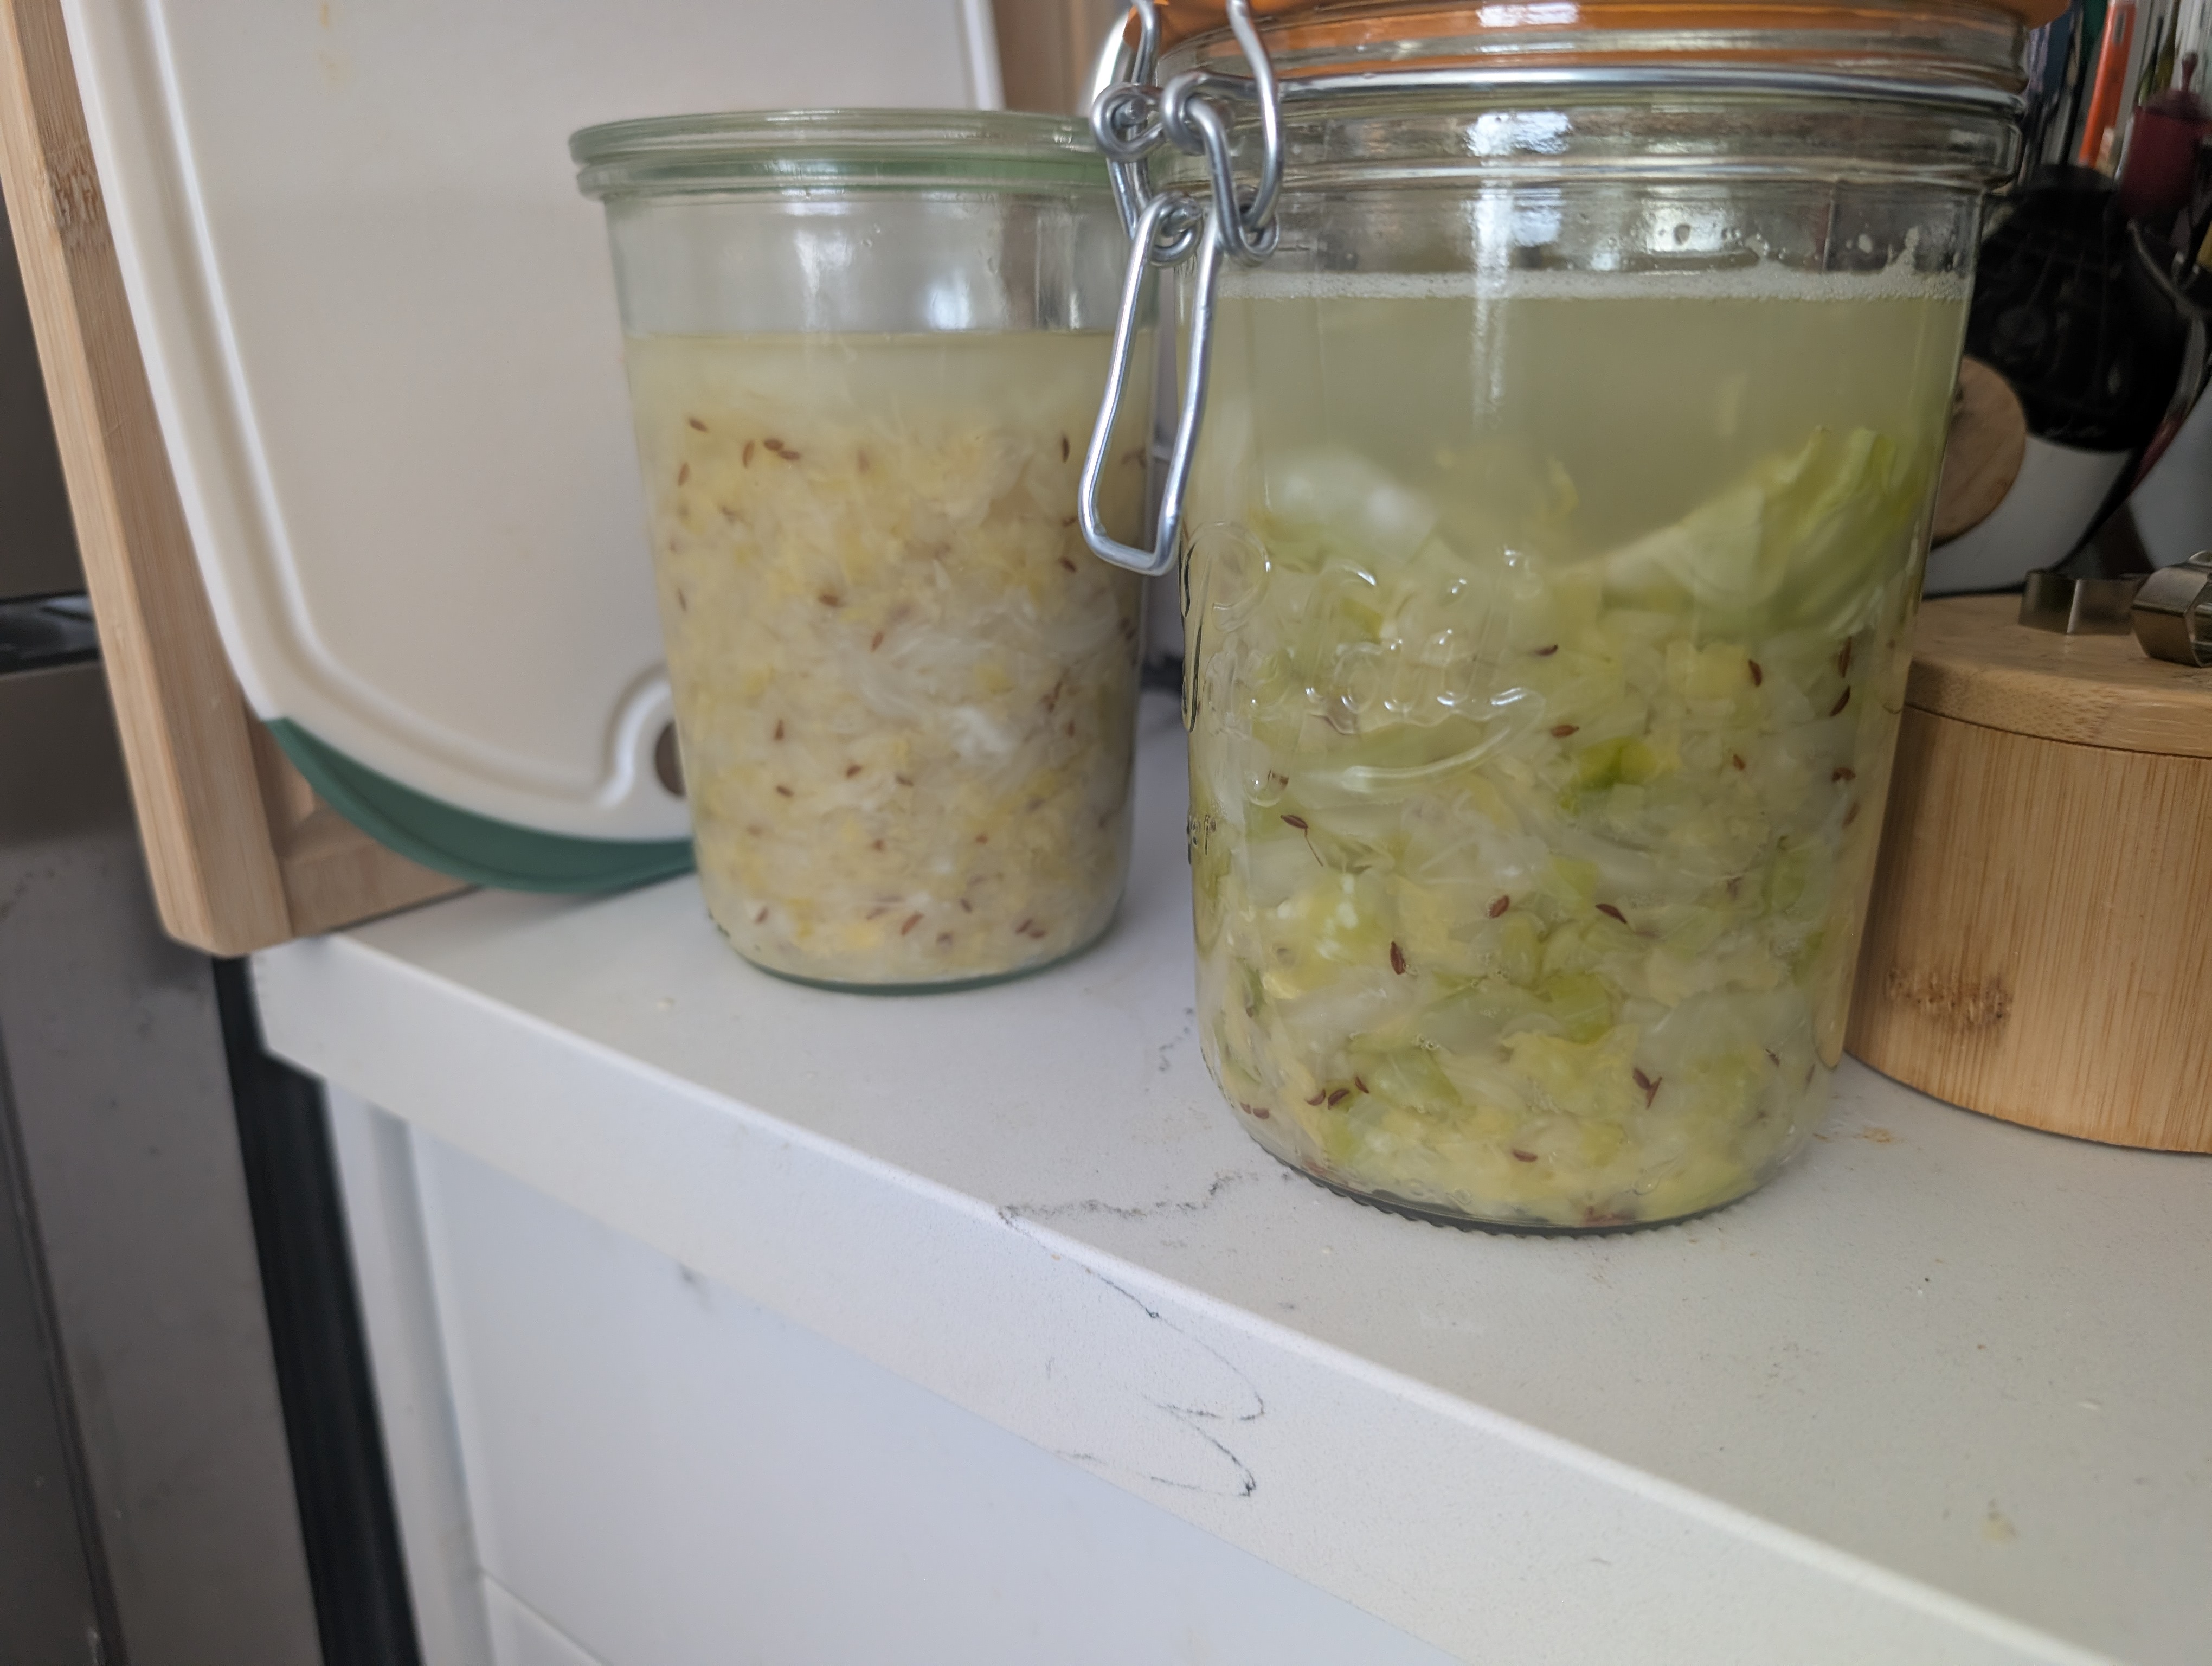
Ingredients/Tools
-
cabbage
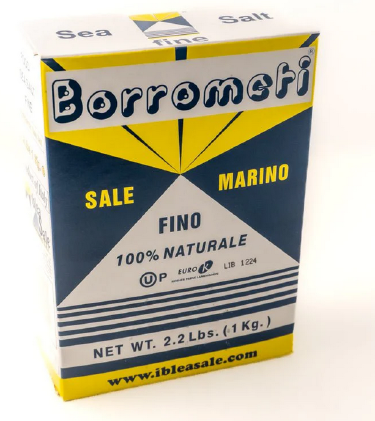
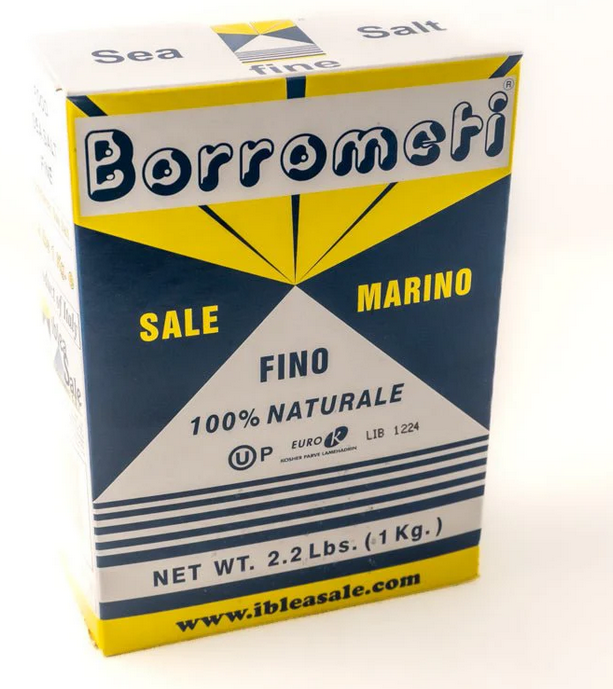
- salt, preferrably salt that is not iodized. (I use
sea salt
- a mason jar with a lid that seals
- about a 1L jar for 1 medium cabbage
- optionally, there are many other lids for fermentation
- lids with water-airlocks, lids with springs attached, these are good choices, avoid the silicon discs with a perforated nipple, they aren't great
- if you don't have a lid with a spring or mechanism to avoid oxygen exchange like an airlock, then you should get weights
- some kind of wooden tool for mashing in the jar with, or you can use your hands
Instructions
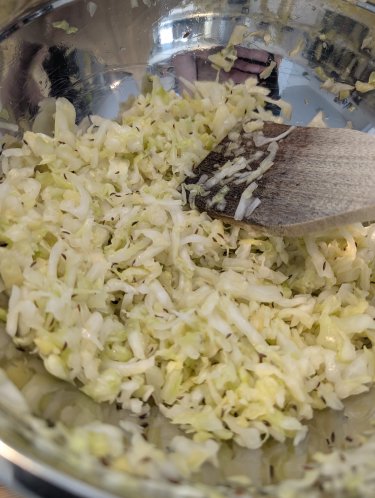
- You just need a head of cabbage, and you quarter it, slice it thinly, and weigh it with a scale.
- We want 2% of the weight of the cabbage worth of salt, so multiply the weight of the cabbage by 0.02, and weigh that much salt.
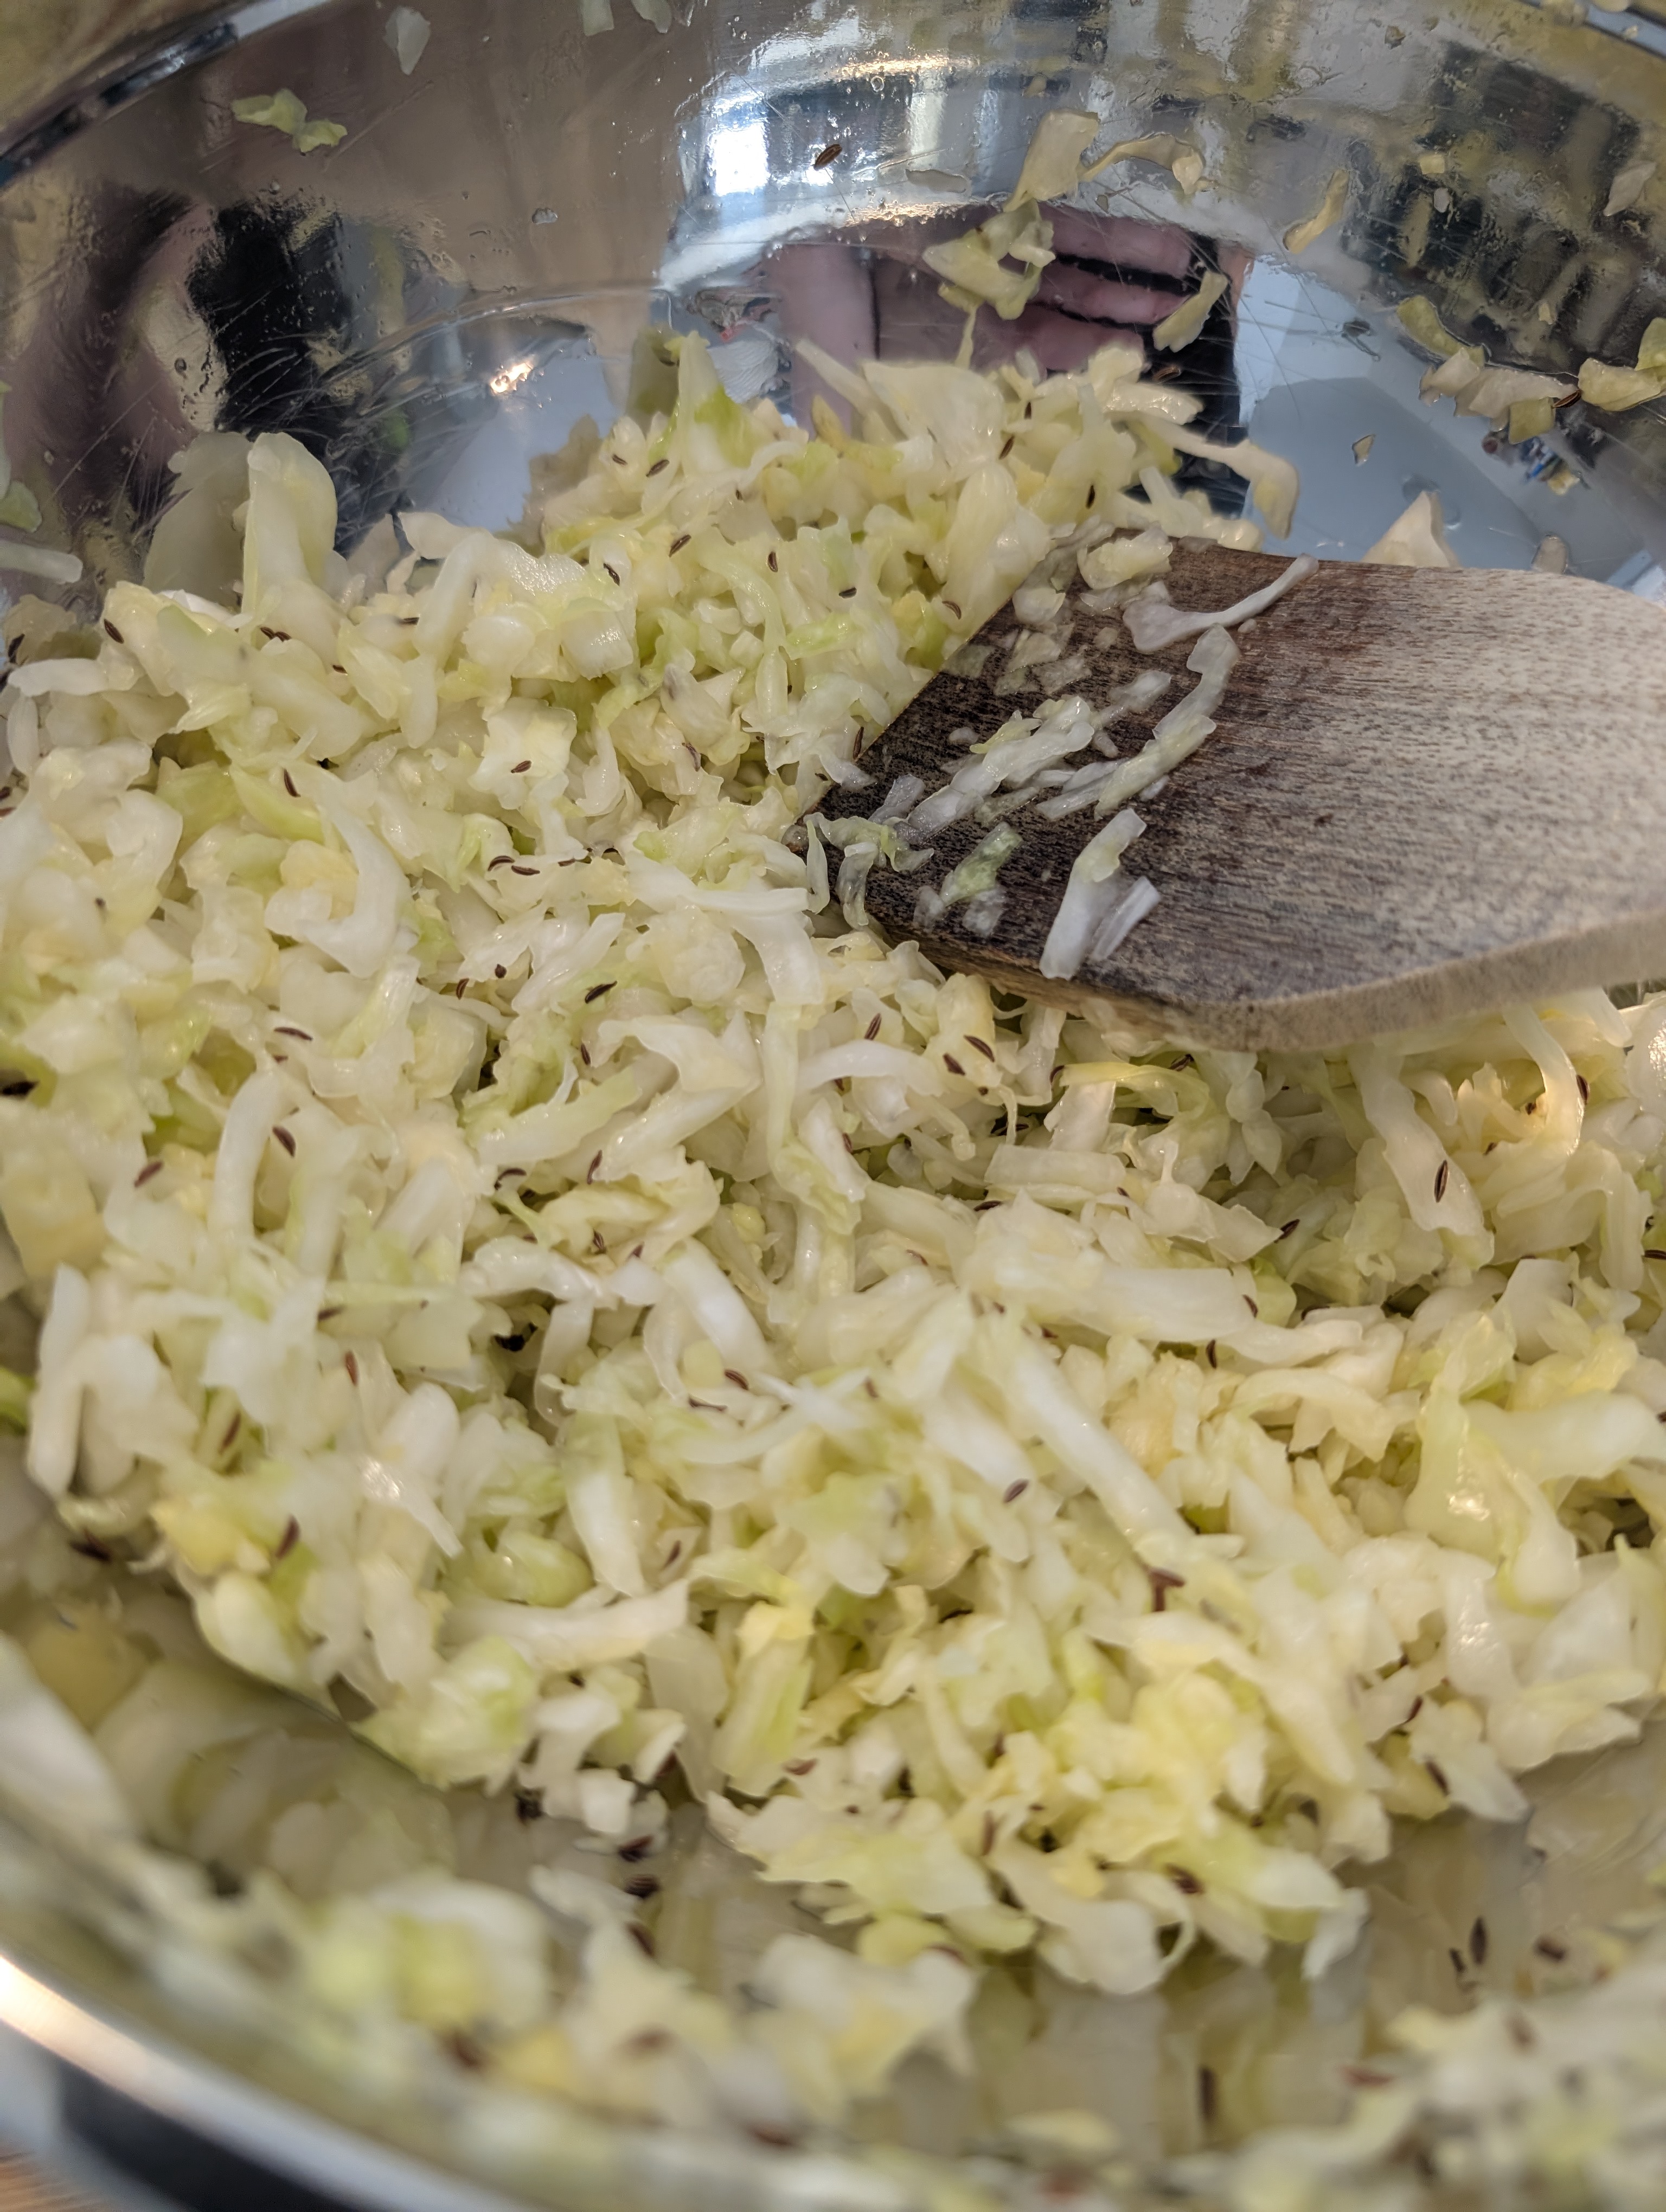
- Now sprinkle the salt all over the cabbage in a big bowl. Use a bowl that has enough room for you to move the cabbage around a bit.
- Lightly toss the cabbage so that its covered in the salt, then begin squeezing the cabbage so that you massage the salt into the cabbage. Do this for about 2-3minutes. Then wait about 5 minutes and come back and do it again. Eventually, it'll get very limp and wet as all the water starts oozing out. This is the brine.
- Then, take your mason jar and put everything from the bowl into it, and smash it down tight. If the cabbage had enough time to release water, the cabbage leaves should fit under the brine. Now, you wait!
- It will take about a months time to completely pickle, but you should be able to eat it at any point in the process, given there is no mold forming. There is also something called kahm yeast, which may thrive on your ferment. It will appear white, and may have bubbles. It may make your sauerkraut smell kind of yeasty like beer or wine. While this isn't ideal, it isn't unsafe either. It can look kind of creepy, but you can safely either stir it in or scoop it off the top, as it should only settle on the top as it needs oxygen to exist.
- That said, there are a lot of dangerous molds that can form. These are often black or green or red or something more alarming, and you should in no way eat it but instead toss it out and start again.
Tepache
This is the other recipe I've tried and loved. Also, pineapples are really cheap right now. The first time I had this drink was at a local coffee shop, they would pour shots of it to accompany an espresso, replacing carbonated water. I was shocked how simple it is to make at home!
Ingredients/Tools
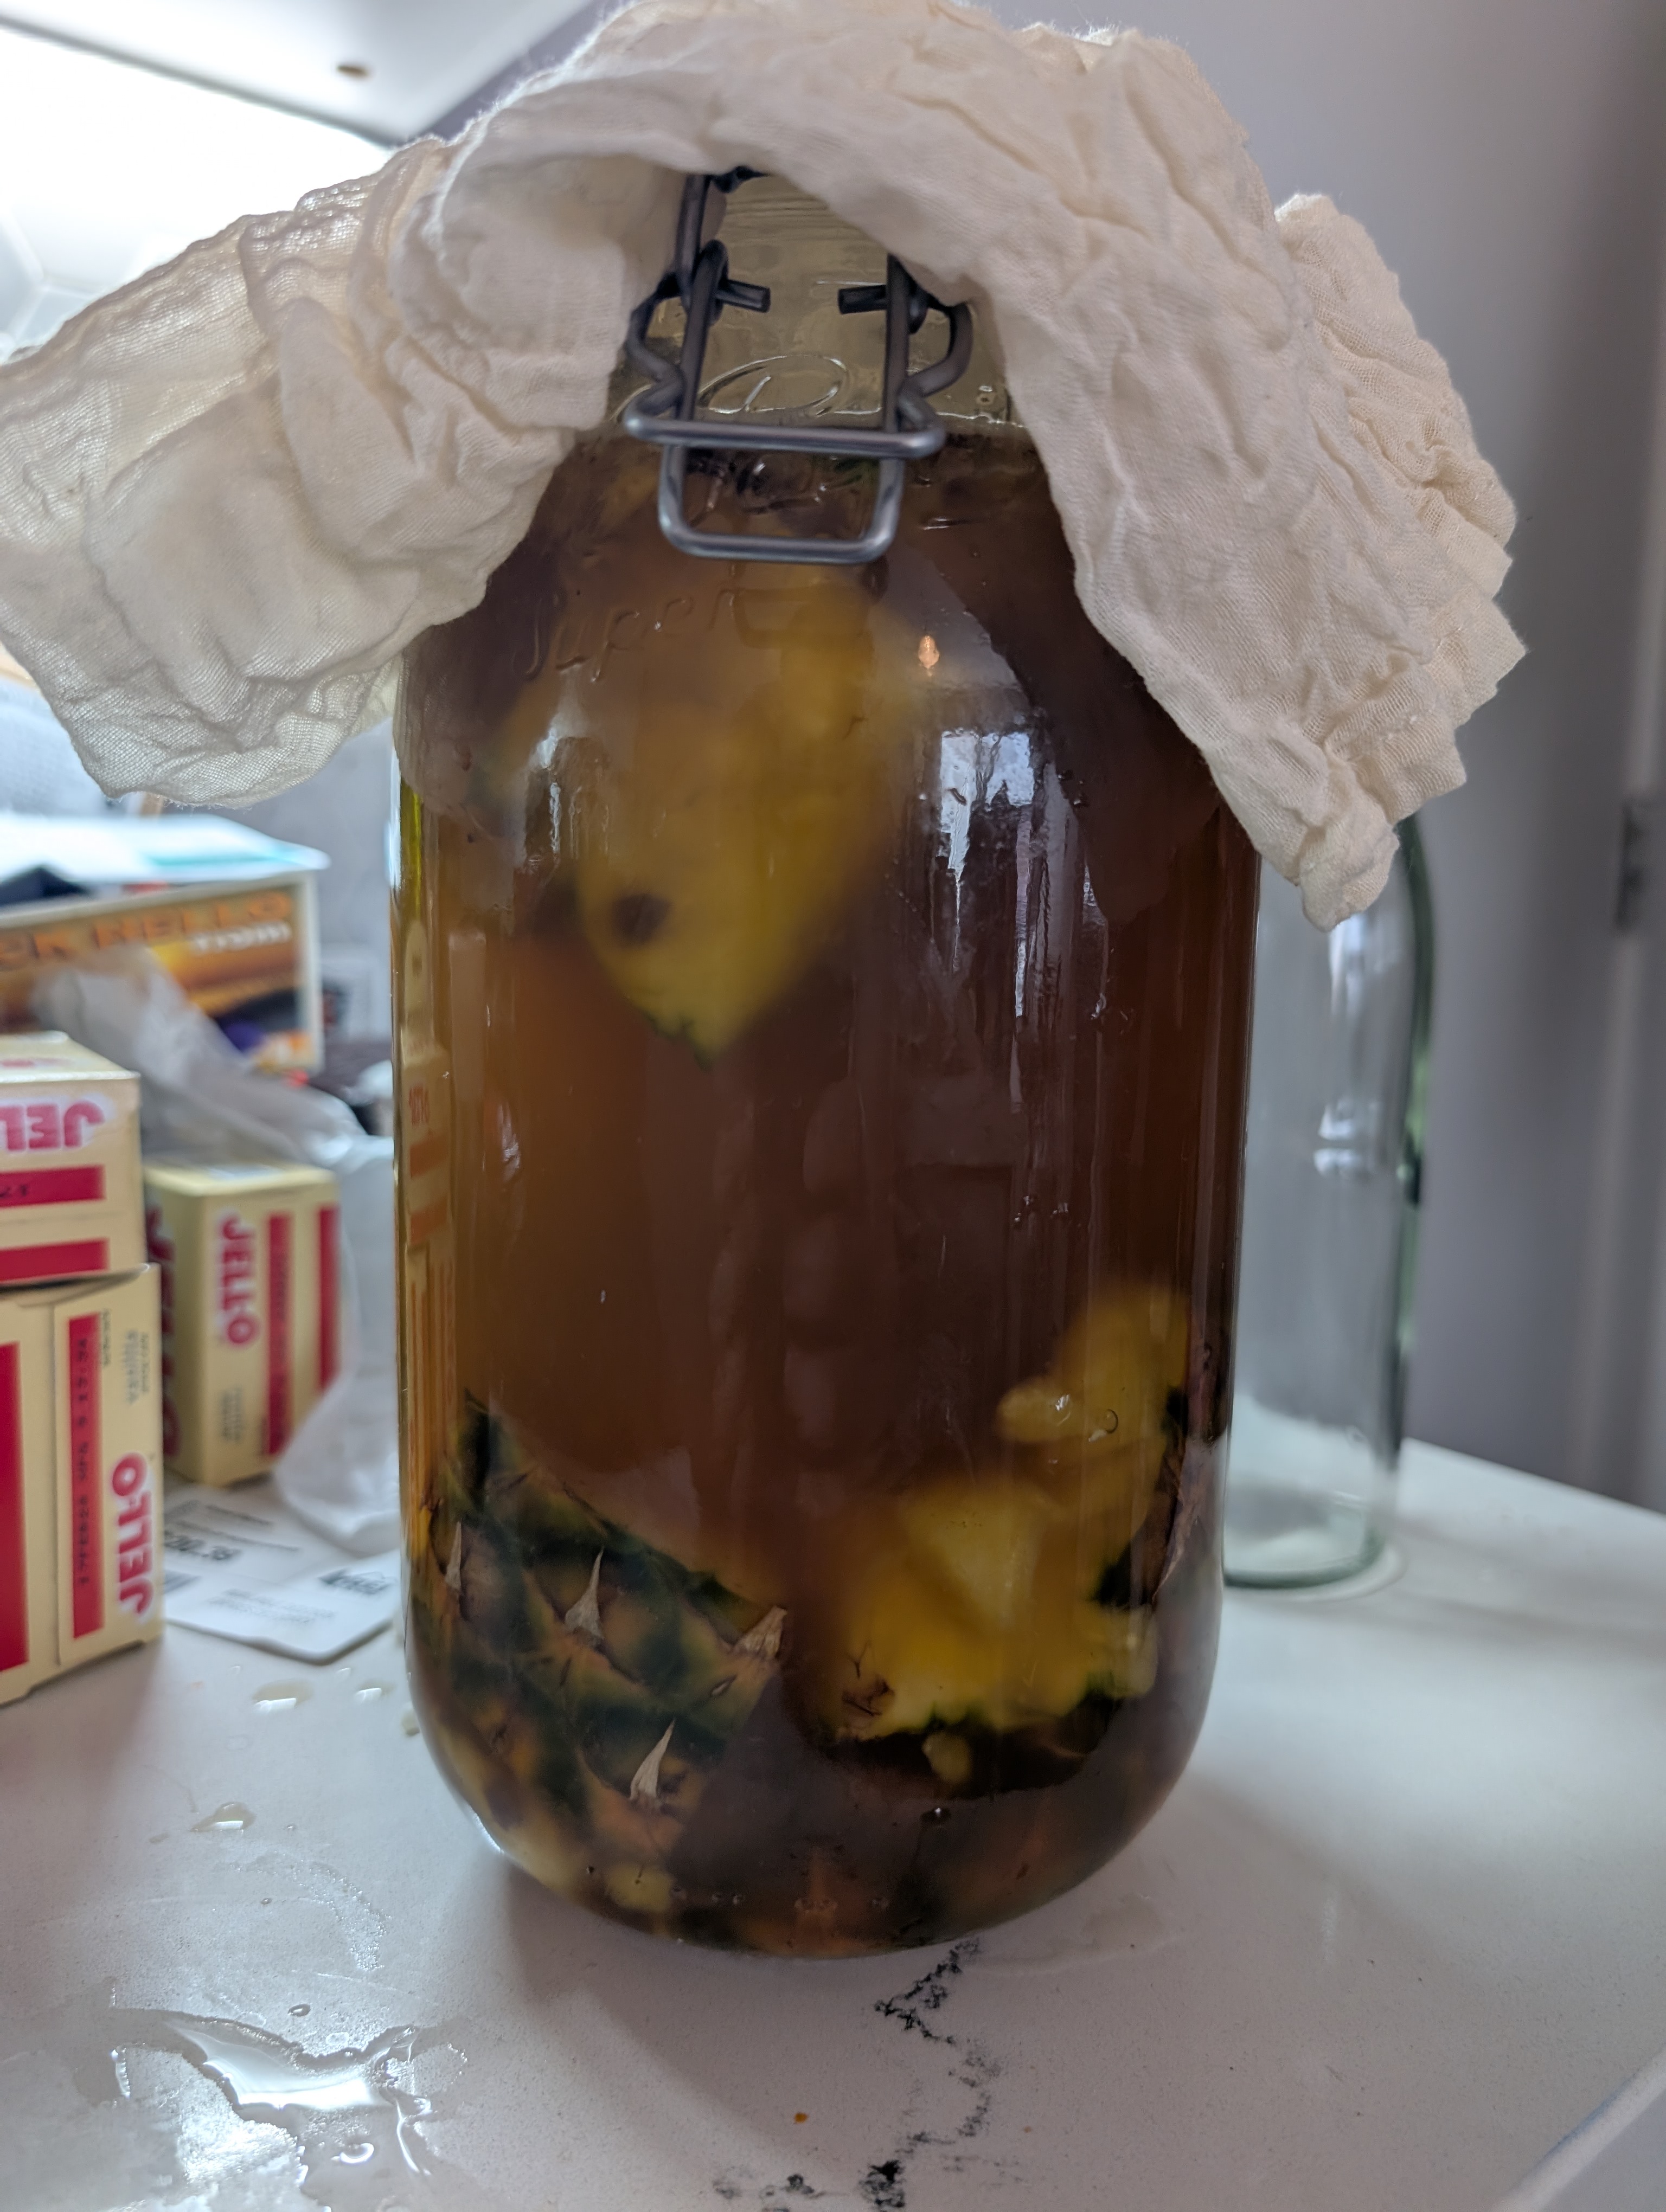
- a fermentation chamber, made of glass ideally. i'm using a 2L jar
- a cheese cloth and rubber band, or lid with airlock
- swing top bottles
- a funnel
- strainer
- 1 ripe pineapple
- 8oz
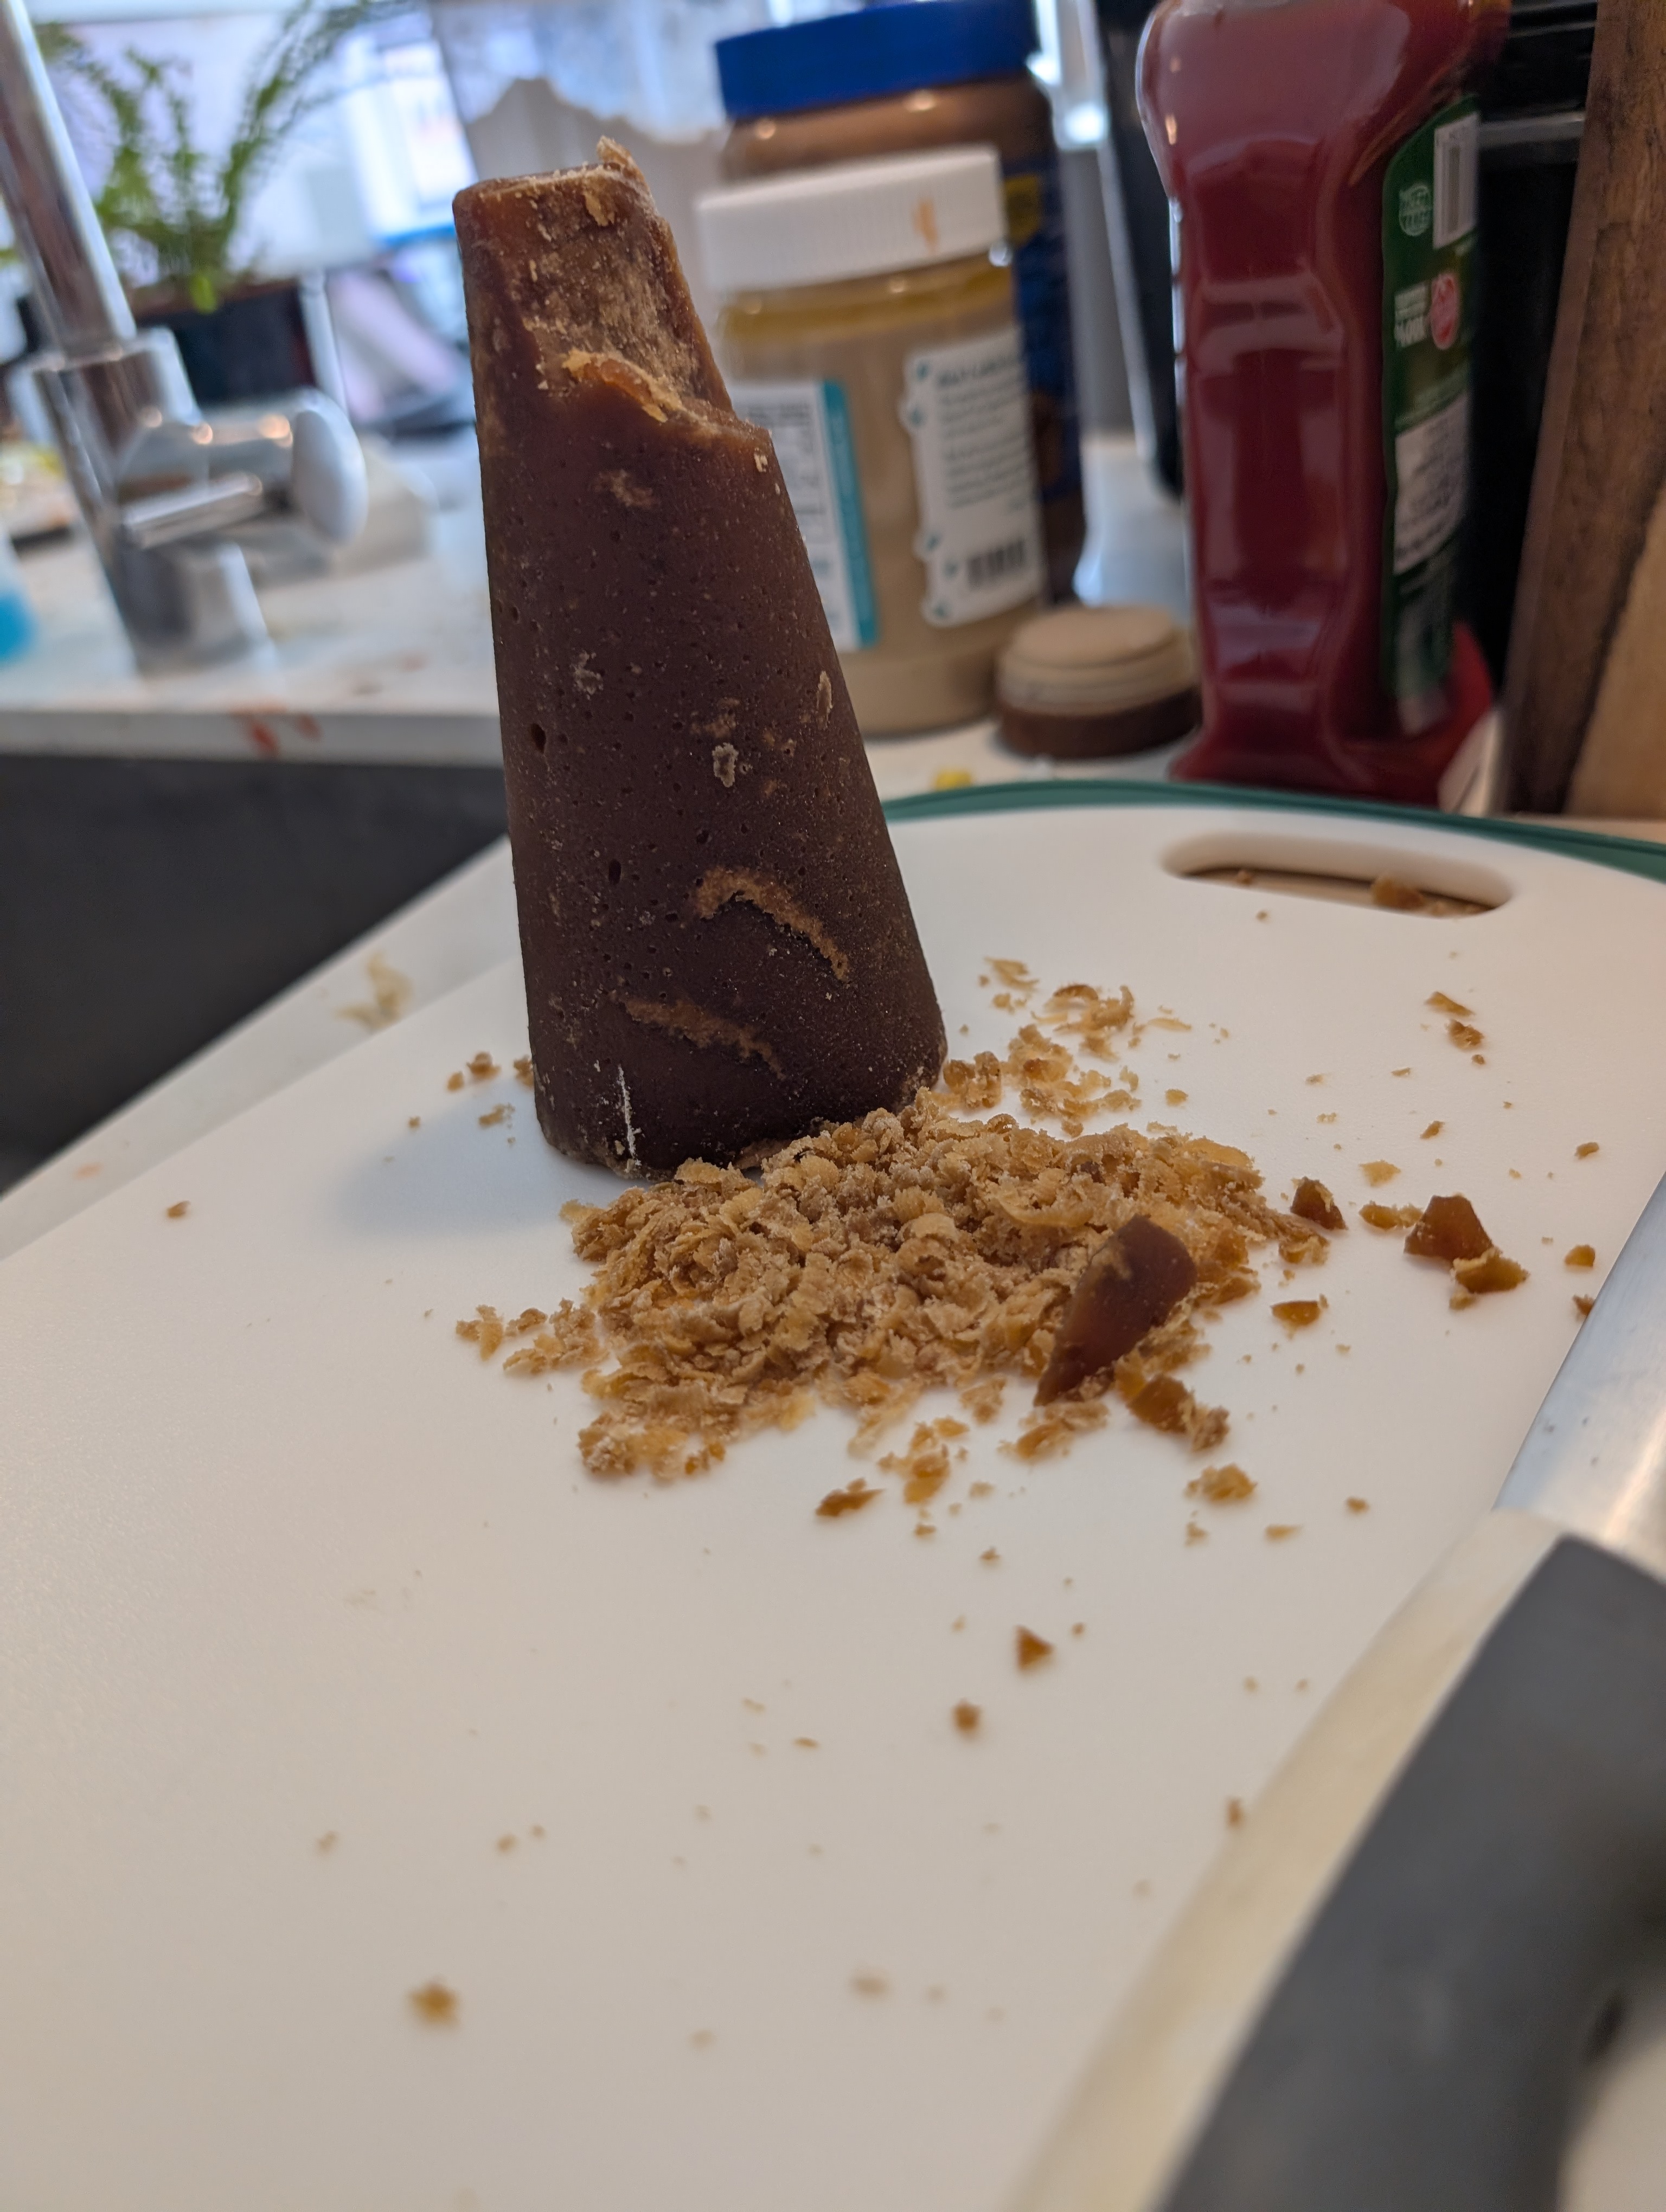
piloncillo
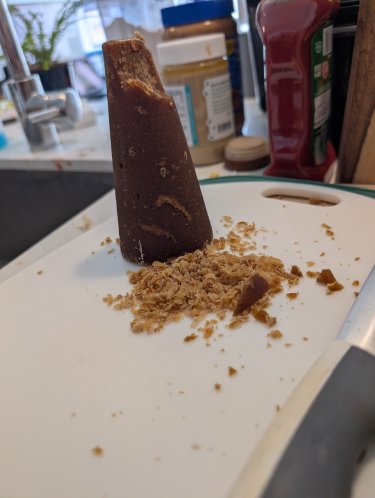
- if you don't have a mexican market, you can use brown sugar, but you should go for piloncillo if you can find it!
optional:
- cinnamon stick (canela)
- 2-3 cloves (clavo de olor)
- ginger
- peppers
Instructions
- Clean thoroughly your fermentation chamber with soap and warm water, then dry it out. It needs to be sanitized to avoid mold growth.
- If your pineapple is dirty run it lightly under water but dont scrub it hard (we want the yeast that grows on it)
- Drop the piloncillo in the bottom of your chamber, and then add a bit of water (about 2 cups).
- Remove the crown of the pinapple, and cut off the bottom 1" or so, as well
- Cut the skin off the pineapple into a size that will fit in the chamber you're using
- Add the skin to the jar, and then add 4 more cups of water (leave some headspace in the chamber so it wont overflow or explode if sealed)
- If you have peppers or ginger, dice them up and add them in as well
- Add any cinnamon stick and cloves and stir
- You can use a wooden tool like a spoon to smash the pineapple a bit and stir around the mix, but its not necessary
- Cover the top of the chamber with a cheese cloth and a rubber band, or your lid if you have one, dont seal it or it will explode
- Leave sitting in 65-75 fahrenheit ideally, for about 5-8 days
- Stir once a day to avoid mold growing on anything floating to the top
- You can stop here, but if you want it to be more carbonated, you can continue to bottle it
- Remove all the things you put in it and strain to remove the solids
- Using a funnel, fill your bottles leaving about 2" of headspace at the top, and seal
- Now it will undergo a 'second fermentation' for 2 days or so in the bottle, this will make it much more fizzy
- Place in fridge to slow down the fermentation and chill the drink
- Enjoy!
Notes
- A lot of recipes and videos will say to dissolve the piloncillo in water, this may speed up fermentation, but it will also dissolve on its own over time
- A piloncillo isn't required, it can be replaced with brown sugar. The piloncillo is good and unique though, and worth the trouble if you can find one.
- If you leave it brewing longer, it will eventually turn into pineapple vinegar, though I've never tried


Comments
Leave a Comment